How to Sell Virtual Subscription Membership Products Using Woocommerce
If you are using Woocommerce, there are several plugin extensions that can be used together to create a powerful membership subscription site selling virtual products:
– Groups
– Woocommerce Groups
– Woocommerce Memberships
– Subscriptions
Once these plugins are installed, you can start setting up your virtual products. There are three types of virtual products: Downloadable, Restricted and Membership. These three product types are distinguished from one another in the way they are presented and delivered to your customers.
- Downloadable – Presented as static file download products. Delivered as file download links that are provided to a customer’s email address and on a username protected ‘My Account’ page.
- Restricted – Presented as access to a page containing embedded virtual content. A single purchase of a virtual product gives access to a restricted WordPress page. Page access is determined by granting groups access tied to the customer’s username.
- Membership – Customers are granted access to a membership plan. This plan determines what pages or products members have access to.
Products can be offered individually or combined. For example, You could have a product that offers download links and access to a restricted page simultaneously.
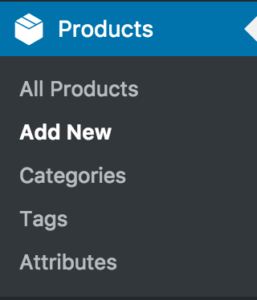
Create a new product by going to Products -> Add New.
Downloadable Products: After you create a new product, scroll down to the ‘Product Data’ box on the ‘Edit Product’ screen and set the product type to ‘Simple Product’. Make sure the ‘Virtual’ and ‘Downloadable’ boxes are checked.

Now we need to add the download file links that will be provided to your customer. Files are either uploaded directly to WordPress via the ‘Choose file’ button or added by pasting a third party link from a storage service such as Dropbox or Vimeo.

Restricted Products: After you create a new product, on the ‘Edit Product’ screen scroll down to the ‘Product Data’ box and set the product type to ‘Simple Product’. Then check the ‘Virtual’ and ‘Downloadable’ boxes. This will give you fields where you can add your download links along with access to a restricted page.
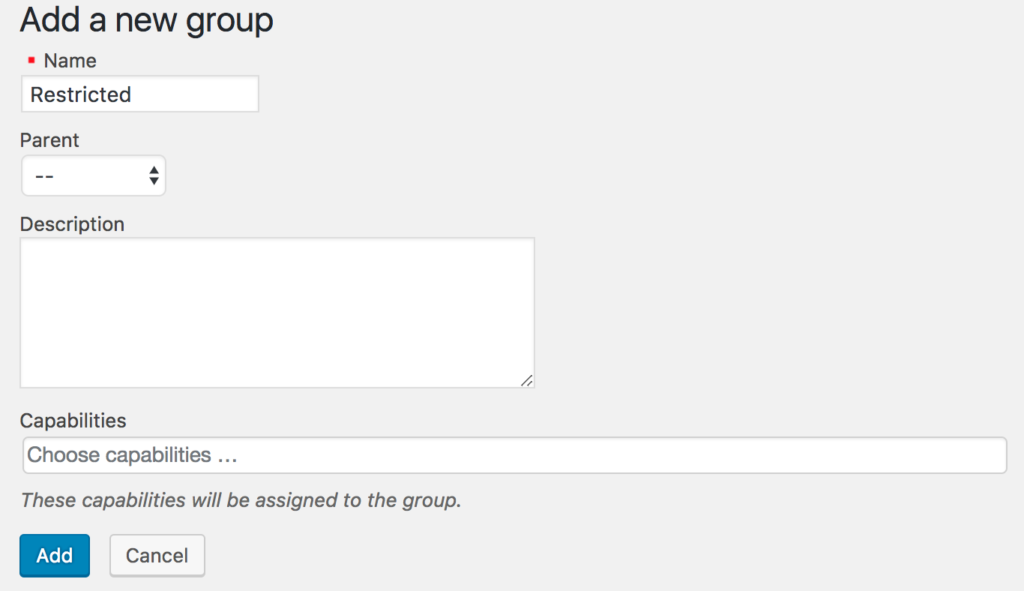
WordPress pages containing your virtual content are restricted based on a ‘group’ that the user is assigned to upon purchase. Let’s create a new group by going to Groups -> New Group. For now, we just need to give this new group a name. We’ll call it ‘Restricted’. Leave the capabilities option blank. Save the new group.
Next, we’ll create the restricted product. On the ‘Edit Product’ screen, scroll down to the ‘Product Data’ box and set the product type to ‘Simple Product’ and check the ‘Virtual’ box. You have the option to offer this product with download links by clicking the ‘Downloadable’ checkbox.

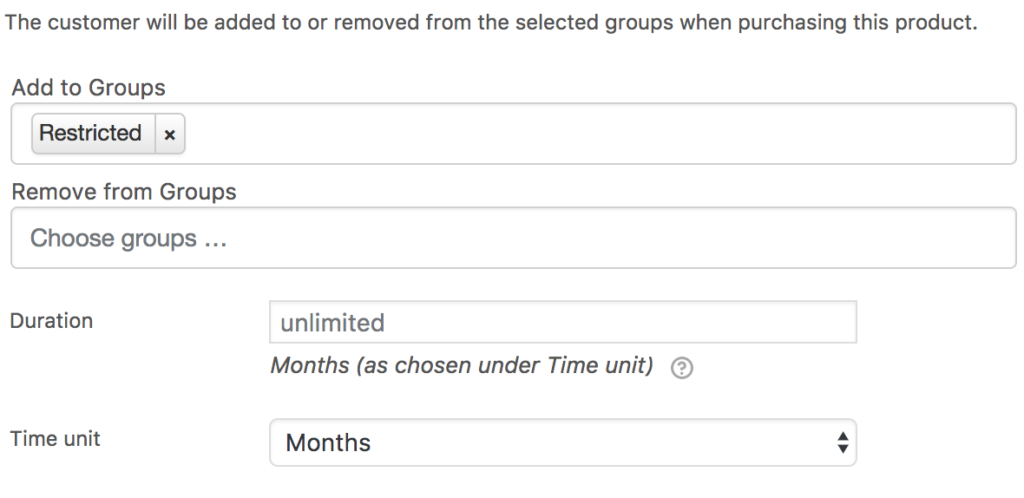
Next, we need to make use of the Groups plugin and assign a group to this product. In the product data box on the product edit screen, click the ‘Groups’ tab and select the ‘Registered’ group that we just created under the ‘Add to Groups’ field. You can also specify an amount of time that this group access will be valid. This functionality is useful for trial access to a specific page.
Membership products: The purchase of a membership product will give your customers access to a specific membership plan. This plan will grant access to restricted content pages or products based on the customer’s username and password.
Make sure to set up a membership plan before setting up your product. In the WordPress dashboard, go to Woocommerce -> Memberships and create your new product’s membership plan. Set the ‘Grant access upon’ setting to ‘product(s) purchase’.
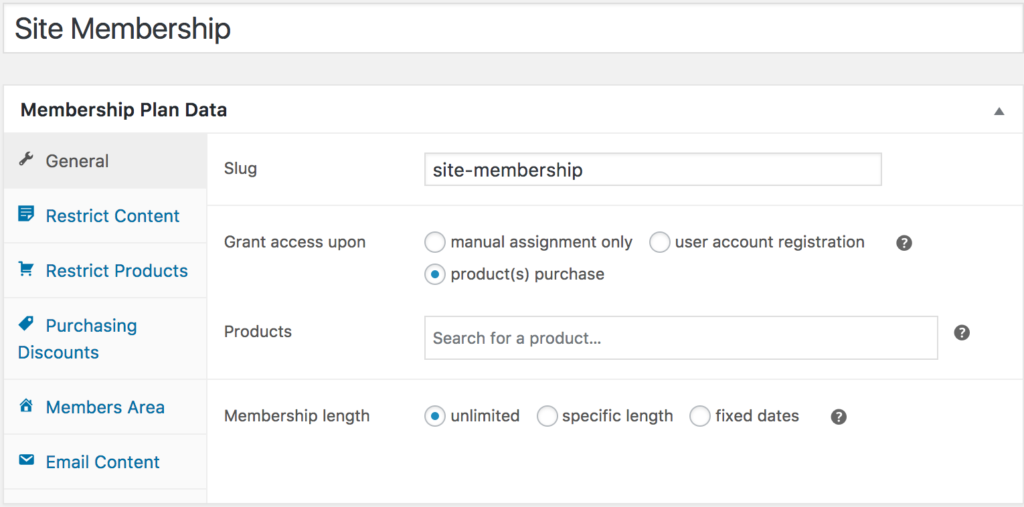
Next, click the ‘Restrict Content’ tab on the left side and specify the content page that this membership plan gives access to. Only members of this plan will have access to the pages specified.
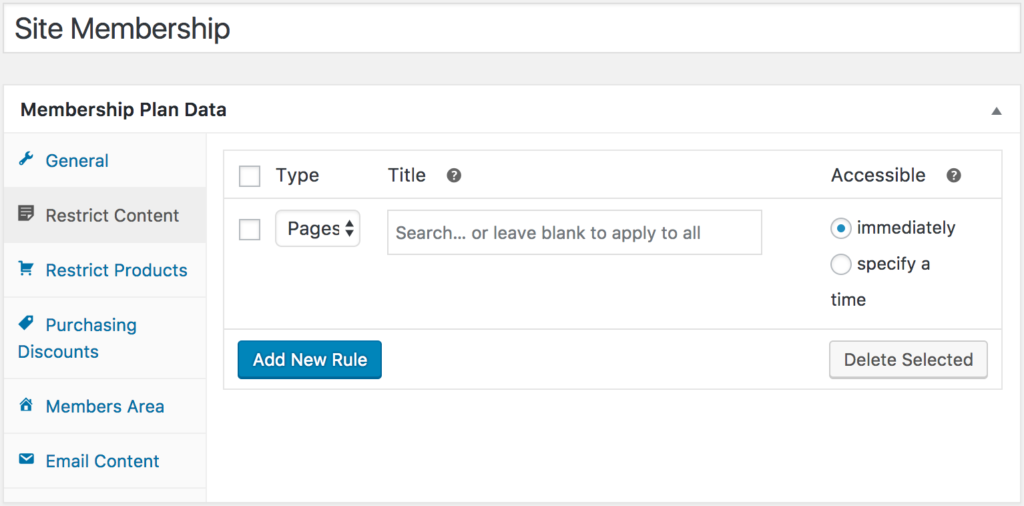
You can also set up access restrictions to specific products and customize what users see on their ‘My Account’ page to suit your specific needs.
Once your membership plan is set up, navigate back to your new membership product. Edit it and scroll down to the ‘Memberships’ box. Click the ‘Grant Access’ tab. Here you will specify the new membership plan you just created assigning the purchaser of the product to that plan. Once a membership product is purchased, they will then be allowed to access the page(s) assigned to the membership plan.

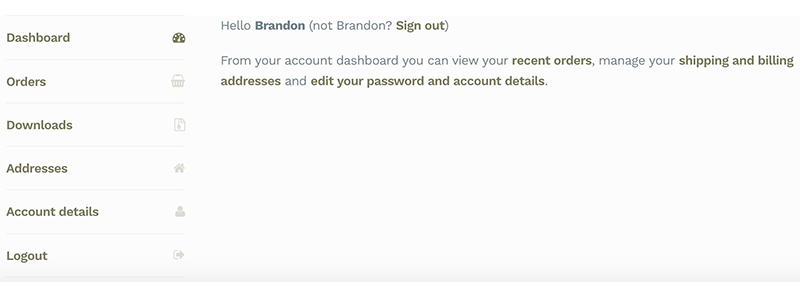
How do customers receive virtual products? To deliver virtual products to your customers, you can use Woocommerce’s built in ‘My Account’ feature. An account is created when a user walks through the checkout process causing account credentials to be assigned. Once a customer purchases your virtual product or signs up for a membership which gives them group access to a product page, they will receive a link via email with a link to their ‘My Account’ Dashboard.
Downloadable file links will be offered under the ‘Downloads’ page link. You can also include them in the customer’s confirmation email by listing them in the product description box on the product edit screen.
This is a snippet from our upcoming video course ‘Building a Woocommerce Membership Site Selling Virtual Downloadable Products’. Learn the whole process of creating a Woocommerce membership site selling virtual products from start to finish.
Sign up to receive 10% off when the course is released!
